
If there’s one thing every home gardener can agree on, it’s that everyone has their way of canning tomatoes. Ask ten people how Grandma did it, and you’ll probably get ten different answers! This is simply one easy method we love because it starts with fresh, uncooked tomatoes, giving you a pantry staple that’s ready for everything from pasta sauce and chili to soups and stews all winter long. Better yet, you don’t need a long list of ingredients or any fancy equipment to get started. Watch the quick how-to video below, then follow along with the step-by-step instructions.
Step 1
Sanitize Your Jars
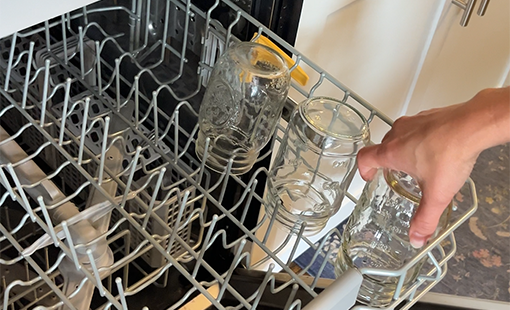
Before you start, sanitize your jars by running them through a high heat wash cycle. Alternatively, you can place them submerged in a pot of water and boil for several minutes.
TIP: Don't add jars to already hot water, they can crack or break. Place them in tap water and let come to a boil.
Step 2
Add Lemon Juice
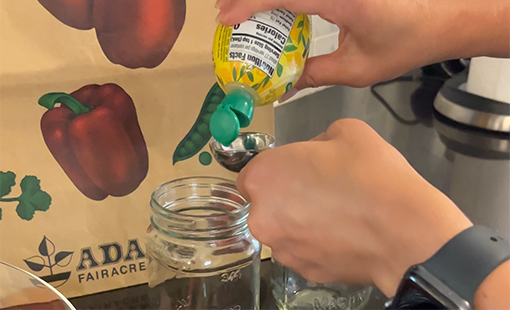
Add 1 tsb of lemon juice to each pint-sized jar, 2 tsb for quart jars. Lemon juice assures a safe acidity level in the jars.
TIP: Use bottled lemon juice instead of fresh because they have a standardized acidity level.
Step 3
Peel, Chop & Tamp
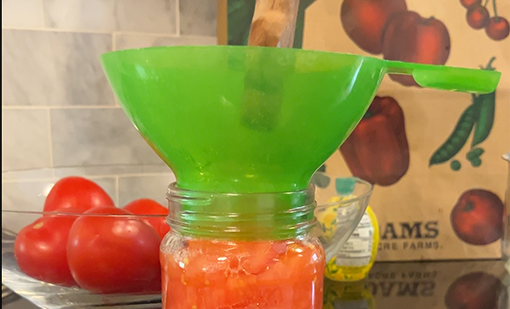
Peel your tomatoes and cut into chunks. Place in jars. You can also use a blanching method to remove the skins if you prefer. Tamp the tomatoes down and fill the jars until they come to just the bottom of the jar's neck, about 1/2".
TIP: Use a serrated peeler. The straight edge peelers won't catch the skin and you'll end up just smooshing the tomato.
Step 4
Remove the Bubbles
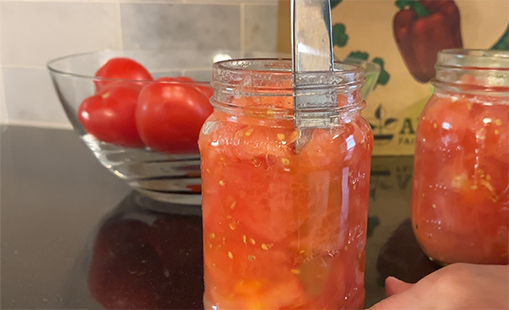
Run a large knife around the edges of the jar, gently pushing inwards, loosening any trapped air bubbles. You can see them float up to the top when you give them a little wiggle room.
TIP: Removing the bubbles ensures that there is the correct amount of filling in the jar and will help with the seal.
Step 5
Clean the Rims
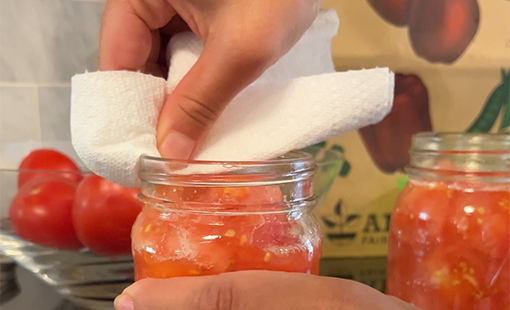
Once the are properly filled, wipe the rims of the jars clean with a paper towel.
TIP: A dirty rim can cause the lid to not seal properly, leading to improper canning.
Step 6
Sanitize the Lids
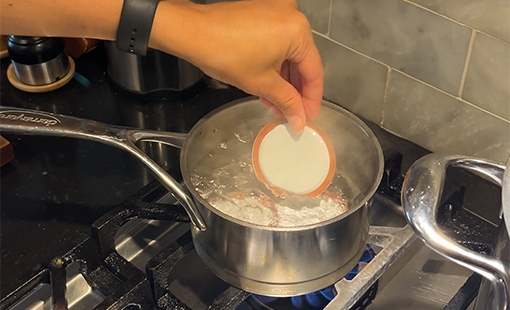
Place lids in boiling water, remove from heat, and let sit until ready to use. Not only does this ensure that there is not bacteria on the lid that can get into your food, but the warm water softens the red, rubber gasket on the lid so it creates a better seal.
TIP: If you don't have a lid magnet to grab the lids, wait until the water is cool enough to reach in, but still warm.
Step 7
Seal the Jars
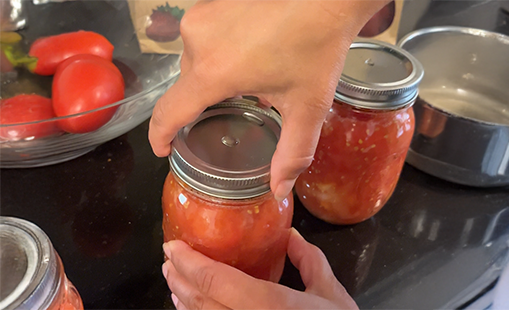
Place a clean lid on each jar and apply the jar rings. They should only be 'finger tight'.
TIP: An easy way to make a jar 'finger tight' is to place one finger on the lid of the jar and use your other hand to tighten the ring. Once the jar starts to spin on the counter, stop twisting. This means the ring is secure, but not screwed on too tight.
Step 8
Process the Jars
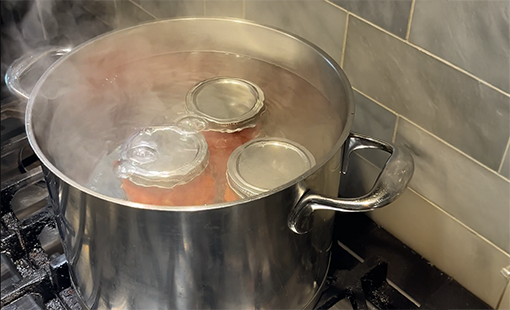
Place jars in boiling water, making sure they aren't packed too tightly. They should not be touching the sides or other jars. Let process for 30-40 minutes for pint-sized jars and 45-55 minutes for quart-sized jars.
TIP: Make sure the jars are completely submerged the entire time they are processing.
Step 9
Remove & Rest
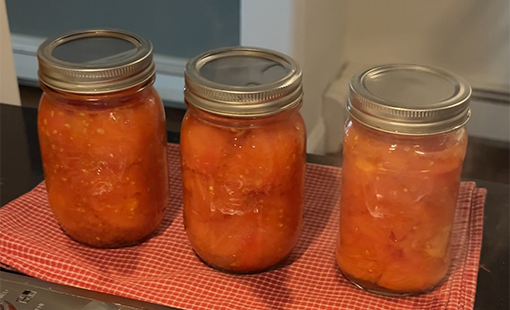
Carefully remove the jars and place on a towel or flat surface. Let them sit undisturbed for at least 24 hours.
TIP: You'll know they have processed successfully because you will hear a faint pop as the vacuum seal sets and the centers of the jars will be dimpled inwards and will not move when tapped.
Step 10
Store & Enjoy!
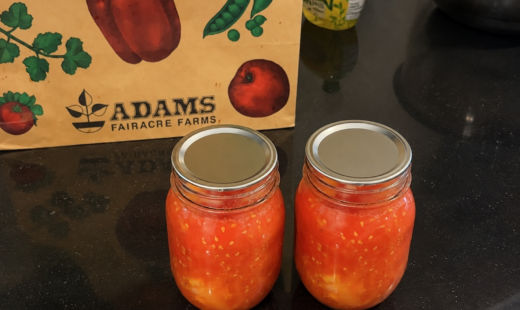
Remove the rings carefully from the jars and store jars in a cool, dark place for up to a year.
TIP: Once you open a jar, store leftovers in the fridge for up to a week.