Propagating and Repotting Chrysanthemums
 Adams Fairacre Farms
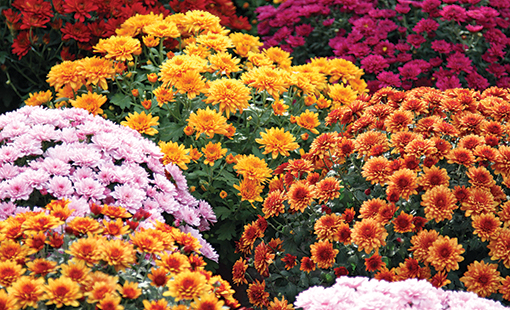
 Chrysanthemum plants are a symbol of fall, with their domes of vibrant, jewel-tone colors. To tempt gardeners to purchase these late-season bloomers, they are often sold in full bloom. To keep these plants longer, consider propagating them and keeping them indoors over the winter.
Propagating Chrysanthemums
You can propagate mums several ways: division, seeds and cuttings. The most straightforward and fastest method will be through division.
- Division: Divide plants that have grown in the garden for at least two years. Younger plants will not have a sufficient root system to survive. By every third spring, divide chrysanthemums to rejuvenate them. Do this in the spring. Pick plants that are at least 6 inches tall. Be careful not to damage the roots. Replant at least 18 inches apart.
- Seeds: Mums can grow from seeds, but it is best if you use purchased seeds. If you attempt to plant seeds from your own plants (most are hybrids), the resulting plant may not be true to the parent. If you are OK with a mystery result, then go for it. Start seed indoors, six to eight weeks before your last frost date, and harden off plants before transplanting outdoors.
- Cuttings: This is an excellent method to get a replica of the plant you have. It does away with the mystery that comes with seeds. Although this method does have extra steps, you have to cut a stem that is at least 4 inches, pinch off the lower leaves, dip the cut end into a rooting hormone, plant it in a container, wait about four weeks or so for a root to grow and for the plant to grow another 2 inches, then transplant it outside.
Potting & Repotting
Repotting is the single most important thing you can do to increase the longevity of your mums. Most mums are completely root-bound when you get them. The roots have taken up the entire pot, which makes it really hard for the soil to retain any water. To repot, choose a container that is a little bigger than the last container. Fill the bottom of the new pot with good quality potting soil. Break up any roots you can, but do not damage the roots.
When you put the plant in the new pot, the surface of the soil should be an inch below the lip of the new pot. Make sure you have soil, not air surrounding the roots. Tamp down the soil gently. Give the pot a good watering until it flows out of the bottom of the pot.
Information courtesy of TheSpruce.com