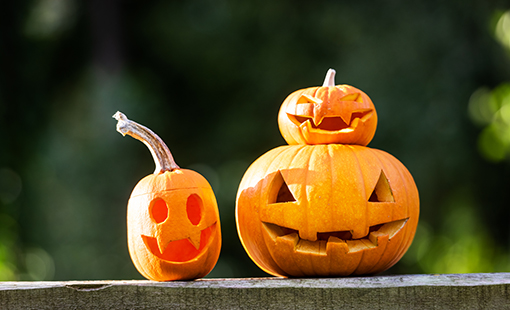
How to Pick the Best Carving Pumpkin
There’s nothing worse than carving a great design in your pumpkin just to have it rot two days later. Follow these tips for picking the perfect carving pumpkin.
Pie Pumpkins vs Carving Pumpkins
Have you ever seen signs for “Pie Pumpkins” and “Carving Pumpkins?” Farm stands will often label the pumpkins for you to help remove some of the guesswork. What’s the difference? Carving pumpkins are typically thinner and easier to saw into. They also have less guts on the inside, which are also grainier and stringier, making them easier to clean. Pie pumpkins, meant for baking, are usually smaller and more rounded.
You’re bound to find a jack-o-lantern variety at any pumpkin patch you visit, and will likely have an assortment of shapes and sizes to choose from.
How to Pick a Pumpkin for Carving
- Pick it up and tap it: It should feel sturdy. When you tap it, you should hear a hollow sound.
- Check the coloring: Choose one that has consistent coloring throughout.
- Look for bad spots: Try to choose a pumpkin without any scratches, bruises, or dark spots.
- Apply pressure: Flip the pumpkin upside down and apply pressure with your thumbs. If it’s not completely sturdy, the pumpkin isn’t fresh and will rot quickly.
- Set it down: Make sure it sits flat! (Unless you want your jack-o’-lantern to sit a little crooked.)
- Carry it from the bottom: Don’t carry it by the stem — instead, cradle it from the bottom or tote it home in a bag.
Information courtesy of TheKitchn.com

 Adams Fairacre Farms